
Josh and Aiden came over last night, and just like I do every time I have the opportunity, I took some pics of Aiden:
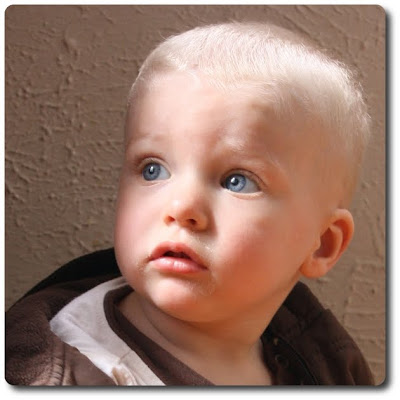
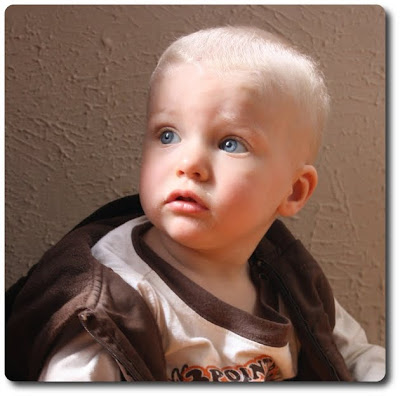
I might go back and touch up the coloring just a tad; I didn't do that last night, and this morning I only resized and put a border on it so that I could hurry and show it to you. Even with a milk mustache, he is such a cute little kid, isn't he?! :)
Anyway, last night, I went to a "Using Your Digital Camera" class taught by Ed McCulloch at a nearby city's library. It was WONDERFUL!
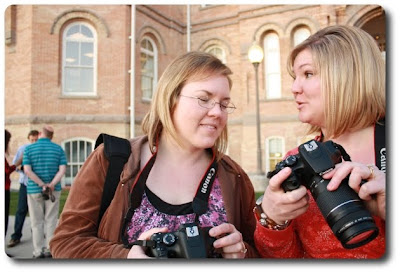
I was somewhat reluctant to go, but I posted on facebook about it and asked, "So who wants to go with me?" Two of my nieces said that they would like to, so we all went together, :) & I'm so glad that we did!
Okay, they say that if you teach what you're learning it cements it your mind better, so I'll tell you the parts that I remember:
The ISO, shutter speed, and aperture all work together to get the exposure just right; they are players on a teeter totter: if one changes, then the balance has to be reworked.
After teaching us for about an hour, he took us outside to take some pics. He told us to go into the aperture setting *or* the shutter speed setting, where we control just one of those two aspect, and let the camera automatically balance for the other one. We also needed to take care of the ISO in either of the settings.
ISO is the easiest for me to talk about, so let's start with that one. The ISO is what you set to regulate light and dark and movement (we won't talk about moving object yet, because I don't understand it as well.) In full light (think: outside on a sunny day), you'll want to set the ISO to 100. As it gets increasingly darker with filtered light from a tree or in the shade, you'll want to adjust your ISO to a bit higher number. Some cameras offer a really high ISO and some only go to 800. You'll have to play with your camera to see how it works, but about 800 ISO is what you'll need for indoors.
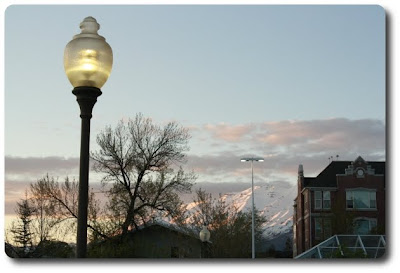
The function that made the hugest difference for me last night, though, was the shutter speed. I feel so liberated now that I understand how to use this one!! The shutter speed is, amazingly enough, the speed that your shutter opens and closes. On my camera, I have a little dial on my camera that raises and lowers the shutter speed, so I'd take a pic, look at the image on the playback and then turn the knob and look at the exposure; sometimes I got the direction wrong and had to go the other way. It worked! One of these days I'll understand exactly what it needs to be turned to, but for now, I'm just so glad that I know *where* to adjust it :) He said that sometimes the shutter could stay open for a couple of hours; while he didn't explain it, it seems that that would be a very low speed that would capture all of the movements of car lights of a city, or the movement of the stars in a nighttime sky. I'm not that fancy yet! I was just amazed that by adjusting the shutter speed, I could control the exposure of the pic. Take a look at these:
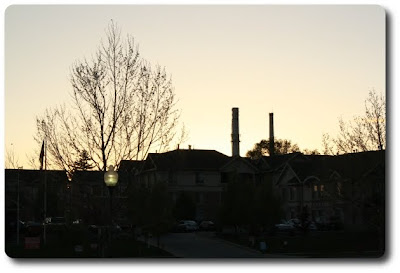
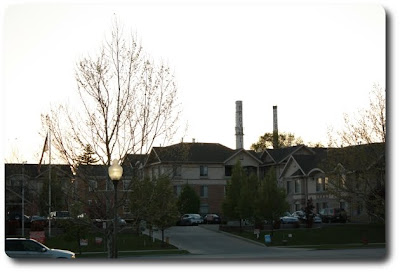
It is the same view taken within a couple minutes of each other; the only difference is the shutter speed. Incredible, isn't it?!
So, for me, I played on "tv" for the whole night, which is the dial for the shutter speed.
The other dial to play with would have been "av" which is aperture.
Aperture is what controls the depth of field. You might have heard of "f-stops"; that is aperture. If you want to be able to focus on the subject and have everything else blurred, you choose a low f-stop; if you want to take a landscape picture where everything is equally in focus, chose a high f-stop. While you are playing with aperture settings, your camera, in this mode, will be supplying the shutter speed info.
He said to choose which setting was most important for your picture, work with that one, all the while keeping an eye on how the camera keeps balance with the other setting - your camera will display all of the info for you to watch. Then, before we know it, we'll be able to shoot in all manual because we'll understand how the balance is kept.
He also talked about composition of a pic and rule of thirds. This one is simplest to just say *not* to center everything. I know, I know, it is how we are raised and sometimes how our OCD behavior wants to make everything balanced, but it is more pleasing to the eye to not have everything in the middle. One of my favorite photography teachers is Nick Kelsh from "How to Photography Your Baby"; you can find it on facebook. I definitely encourage you to "like" it and watch his videos. (He has another lady work with him on photoshopping, but watch Nick's for how to make the great pics in the first place.) He talks about not making your baby's face a target. In some pics he has used the third's grid (three vertical lines and three horizontal lines over the face) and drawn a perfect target right over it. It is very disturbing because we know what targets are used for, so viscerally I cringe every time, but his point is to make sure that your baby's face isn't so perfectly in center. Same goes for a landscape.
This is one aspect that can best be learned by looking at a photographer's work and see what they do and emulate it as best you can until it becomes second nature; or at least that is what I do.
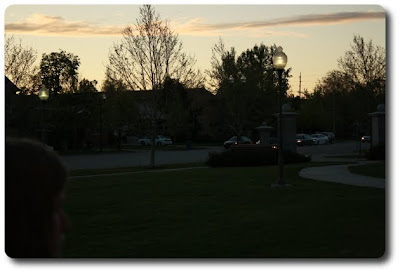
Anyway, here are the rest of my pics from the evening. Remember, it was twilight, which is a tricky time to shoot, in my experience, and then some pics are indoors, which again is very tricky. Another item worth mentioning is I am NOT using a flash at ALL! everything you see is because I played with shutter speed and ISO.
Outside:

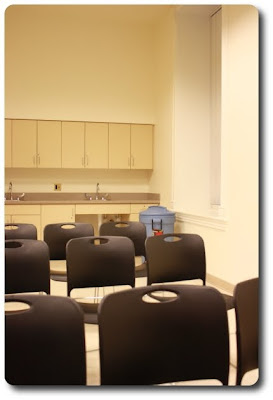
Inside:
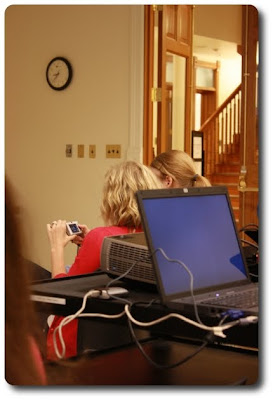
Looking toward the back of the room, where the lights are turned on.
Looking toward a dark area of the room, but light is coming in through the doorway:
Toward the front of the room which has the lights turned off for a slide show presentation:
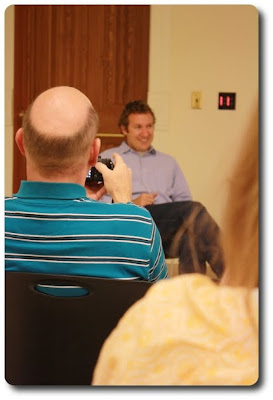
To be honest, I really *meant* take a pic of the instructor, not the back of the bald guy's head. Oops! :)
I'm so glad for this instruction and for the fact that it was free. So many photography classes are too expensive for me to go, so this was super.
He recommended some books that I'll throw out here in case any of you are interested.
He said that the best book for beginners is BetterPhoto Basics: The Absolute Beginner's Guide to Taking Photos Like a Pro
by Jim Mitke.
A few levels up from that is: The Digital Photography Book
by Scott Kelby
Another great is: Understanding Exposure, 3rd Edition: How to Shoot Great Photographs with Any Camera
by Bryan Peterson.
There were a few other little tricks like: If you are taking a picture of a person, make sure the eyes are in focus. If you do that, the whole picture will look better, even if the tip of the nose and the ears are a little fuzzy.
Thanks to Jenny and Ashlee for going with me. Without them, I might have just stayed home and watched tv instead of learning how to use tv. :)

Good for you!:)
ReplyDelete